Did you buy long pants and now you cannot wait for a professional tailor to alter them according to your size?
Or do you want to learn out of curiosity?
In any case, here is a complete and easy-to-understand guide on how to hem your pants at home by yourself.
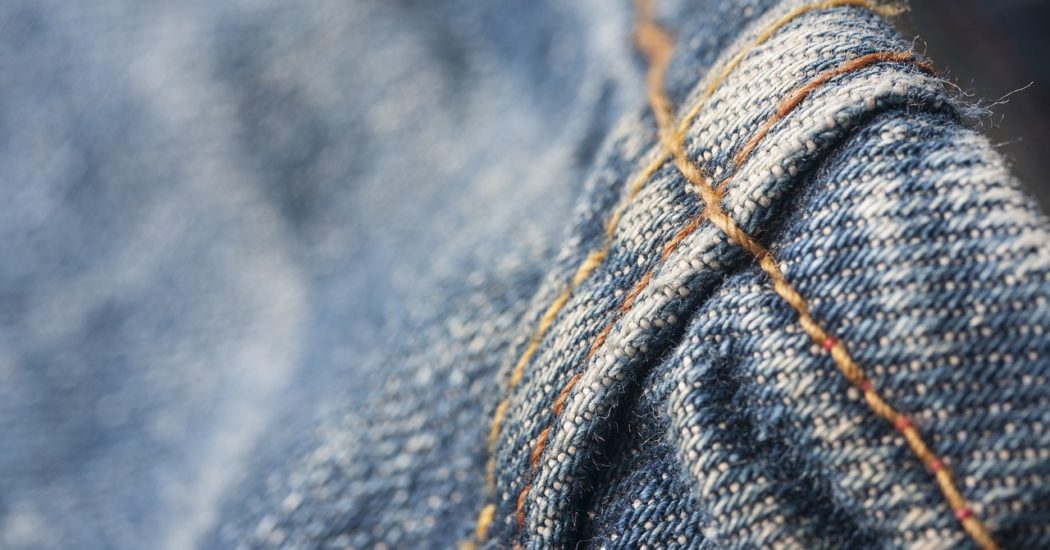
In sewing, a hem is a garment-finishing method where the edge of a piece of cloth is folded and then sewn to prevent the unraveling of the fabric.
This method is also used to adjust the length of the piece in garments like the end of the sleeve or bottom of the garment.
People are asked about the type of hem they want on their pants and often they revert back by asking isn’t there just a single hem for pants?
No, even a simple pair of pants can have numerous styles of finishing.
So, there are various types of hemstitches for different fabrics of clothes, and today we will focus on the types of hems used for pants so, you can buy the perfect pants without worrying about their size!
Now let us dive deep into the whole process.
Step 1- Take the Measurements
- Well, if you are altering your pants that already have a hem, then first rip out the old hem: place your pants inside-out and use a seam ripper (or a sharp pair of scissors) to take out the stitching that is holding the hem. Remember not to get hold of the fabric of your pant as you rip out the stitches. Break (or cut) the threads as you go along and do this on both the pant legs.
Tip: you can also use a sharp knife or nail scissors to do the job.
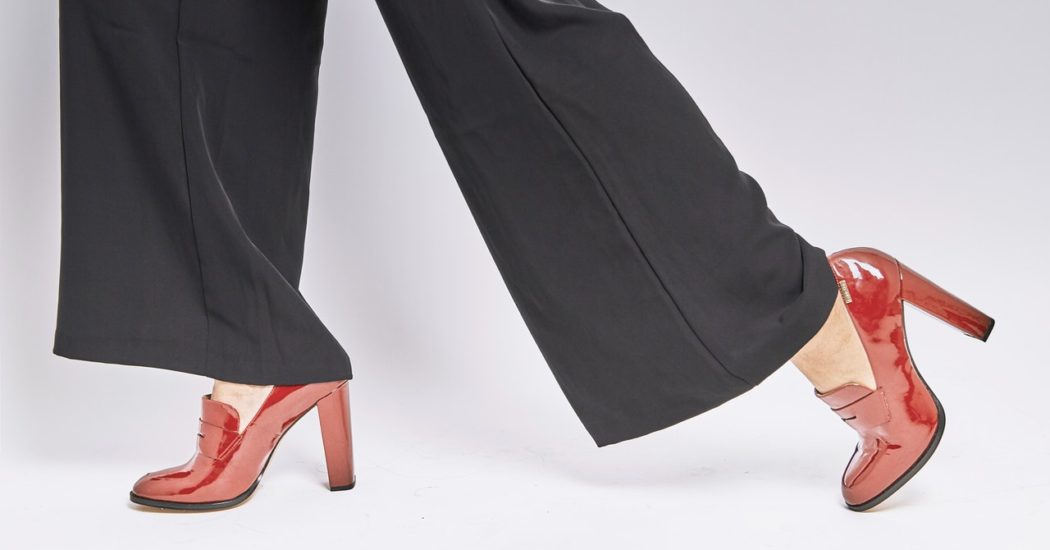
- Put on the pants with the footwear: In order to find the correct length of your pants, you must put on the pants along with the footwear you are planning to wear. Even flat footwears are a little higher than your bare feet.
- Cuff the pants at the correct length: fold the edges of the pants under their length and use pins to secure them in place. The pants should grace your footwear rather than bunching up around them or hovering over them. You can wear the pants and look in the mirror for the perfect length and also walk around in them to see if you are comfortable with them or not.
- Take the pants out: take the pants out after adjusting the length of the cuffs as per your desire. Make sure that the pins stay intact.
Step 2- Get ready for stitching
- Measure the length of the cuff- turn the pants inside-out and use a measuring tape or a scale to measure the length from the edge of the fabric to the bottom fold. Make sure to use the same measurement all around both legs. And using these measurements place the pins in the correct place to hold the cuffs.
- Iron the cuffs- use a hot iron on the cuffs to create a proper crease on the fold.
Tip: keep the iron on the settings of the fabric of your pants. And take care not to prick yourself with the intact straight pins and do not iron over them.
- Measure 1.5 inches (3.8 cm) from the hemline: Use a marking pencil or chalk to mark 1.5 inches (3.8 cm) from the ironed hemline from the previous step. Go around marking this measurement on both legs. This is a line along which you will cut the extra fabric of the fold.
- Cut the extra fabric: Take some scissors and carefully cut the extra fabric along the chalked line made earlier.
Tip: remove the pins before this step to avoid any injuries. And when finished, place these pins back at about a 1-inch distance from the hemline.
Step 3- Sew the hem
The final step and the easiest step- sew your pant’s hems!
You can hand sew, use a standard sewing machine, or even use a serger to do the same.
Always use a thread color that matches your pants so that the stitching is almost invisible to the eye.
Alternative to step 3- Use Fabric Tape
The best alternative to sewing your hem is to use fabric tape.
Read the below-mentioned points to hem pants using fabric tape:
- Unfold the cuffs after creating a crease in the hemline and cutting the extra fabric.
- Cut a good length of the fusible length and apply it to the crease of the hemline that you ironed before. Remove the paper backing on the tape and make sure it is placed in a straight line with the crease around both legs.
- Set the iron on a heat level that will not damage your fabric.
- Place a thin cloth over the hem (cuffs) and apply the hot iron on it a few times for several seconds. You can remove the cloth and check whether the tape is fused properly or not and repeat the process until it is.
- Fuse the tape with the fabric around the entire leg and do the same on the other leg.
- Try on the pants and see if they fit perfectly and in case it doesn’t then, run them through the drier until the tape falls out. Hem them again later on.
Note: fabric tapes may come out differently on different fabric types.
You must be careful while heating and bonding the tape so that you do not burn the pant’s fabric.
You can try the tape on a different piece of the same fabric beforehand to see how it turns out to be.
Types of pant hems:
As mentioned earlier, there are various types of hems that you can ask the tailor for or try yourself at home.
Some of them will require expert skills and others will be simple if you have a good sewing machine.
Below are some types of hems that you can try on your pants and a little about them-
- Blind hem
It is the most standard hem finish done by tailors on almost all trousers. Usually, a 5 cm allowance is made on the inside of the hem and it is finished with an invisible stitch.
A well-tailored hem of this type does not show any stitching or pulling from the outside and thus, gives a smooth finish to your pants.
- Blind hem half tape
A piece of cotton ribbon called half tape, is placed on the backside inside the hem.
This is usually done to protect your pant hem’s fabric from rubbing against your shoes and thus, protect the fabric and granting it a longer life.
You need not worry because the cotton tape is only sewn on one of its sides which is then tucked into the side seams, giving a sophisticated and tidy-looking pant.
- Blind hem full tape
Polyester tape (most commonly used) is sewn all around the hem.
Sometimes the tape is fully hidden, sometimes it is sewn 1 or 2 cm above the hemline or crease, and other times it is placed right at the edge.
This hem provides extra protection to the fabric from rubbing against the shoes.
But at the same time, it helps you get a structured look around the hem by providing extra weight to it.
- Cuff
Best suited for otherwise plain pants, this hem type is quite old-fashioned and very common.
The width of the hem varies from 3.5 to 5 inches depending upon the length of the legs. A wider hem is preferred for slimmer legs.
- False hem
This is the perfect type if you are a tall person and the pant is short for you.
To make the pants longer, tailors use the fabric allowance on the inside of the hem, add another piece of fabric, and create a false hem.
A 5 cm allowance is still left in the hem using the other fabric to keep weight on the hem, giving you a structured look.
If the proper allowance is not given on the hem, the otherwise small hem might roll and not sit properly giving you an untidy look.
- Double topstitch
This stitch is useful when you are working on stretchable fabric.
A double-stitch machine used for this purpose maintains the stretchability of the fabric around the hem even after sewing.
After using a standard sewing machine on such a fabric, the stitches will come off as soon as you stretch the fabric, something that you will never want!
Final Words:
So, this was our little guide infused with tips and important things to remember while hemming your favorite pants on your own at home.
We also talked about the different hem options that you can opt for to give a tidy and sophisticated look to your pants.
So, next time you find any pants that are perfect but just need some altering in the length, just buy them and alter their hem at home easily.
If you have any queries regarding the same, feel free to ask them in the comment section below!